Plone Installation with Apache SSL Redirection
A fresh installation of Fedora 17 is taken. To get most of the dependencies installed in a easier way, a group install of Development Tools is performed with root permission.
yum -y groupinstall "Development Tools"
After some trial and error of missing dependencies while installing Plone and it's add-ons, the following are also installed to simplify Plone installation at the later stage
yum -y install zlib-devel openssl-devel libjpeg-devel mod_ssl httpd
Download the latest plone from http://plone.org/. untar it and install the plone as root. installation will take sometime to complete. If any error thorws up, read carefully and install the missing plugins.
./install.sh standalone

Once the installation is complete, read the README.html under /usr/local/Plone/zinstance/README.html
Start the Plone by running ./bin/plonectl start from within the directory /usr/local/Plone/zinstance/
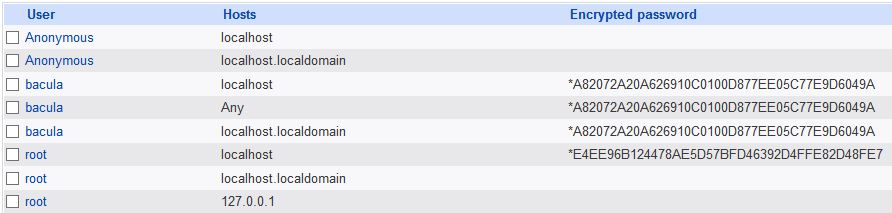
Open up a browser and navigate to the site http://localhost:8080 to check whether your Plone installation is fine and log in using the credentials as shown in the image above.

Generate the key file for the new ssl certificate using openssl.


yum -y groupinstall "Development Tools"
After some trial and error of missing dependencies while installing Plone and it's add-ons, the following are also installed to simplify Plone installation at the later stage
yum -y install zlib-devel openssl-devel libjpeg-devel mod_ssl httpd
Download the latest plone from http://plone.org/. untar it and install the plone as root. installation will take sometime to complete. If any error thorws up, read carefully and install the missing plugins.
./install.sh standalone

Once the installation is complete, read the README.html under /usr/local/Plone/zinstance/README.html
Start the Plone by running ./bin/plonectl start from within the directory /usr/local/Plone/zinstance/
Open up a browser and navigate to the site http://localhost:8080 to check whether your Plone installation is fine and log in using the credentials as shown in the image above.

openssl
genrsa -des3 -out www.abc.com.key 2048
Remove the
passphrase from key
cp www.abc.com.key
www.abc.com.key.org
openssl rsa -in www.abc.com.key.org -out www.abc.com.key
openssl rsa -in www.abc.com.key.org -out www.abc.com.key
Generating self-sign
certificate (good for 3 years)
openssl x509 -req -days 1095 -in www.abc.com.csr -signkey www.abc.com.key -out www.abc.com.crt
Copy the generated crt and key to the
following folders respectively
/etc/pki/tls/certs/
/etc/pki/tls/private/

Enable
VirtualHost and the redirection
Redirect permanent / https://www.abc.com/
Edit
the ssl.conf file under /etc/httpd/conf.d/ as shown in the figure below.

The IP address with port 8080 (if enabled) must be used in the greyed
area and instead of Intranet, key in your site name created in Plone.
Once done, open up a browser and navigate to the site http://localhost:8080 like before. It will be automatically redirected to the ssl enabled site https://localhost or the https://IPADDRESS.


Comments
Post a Comment